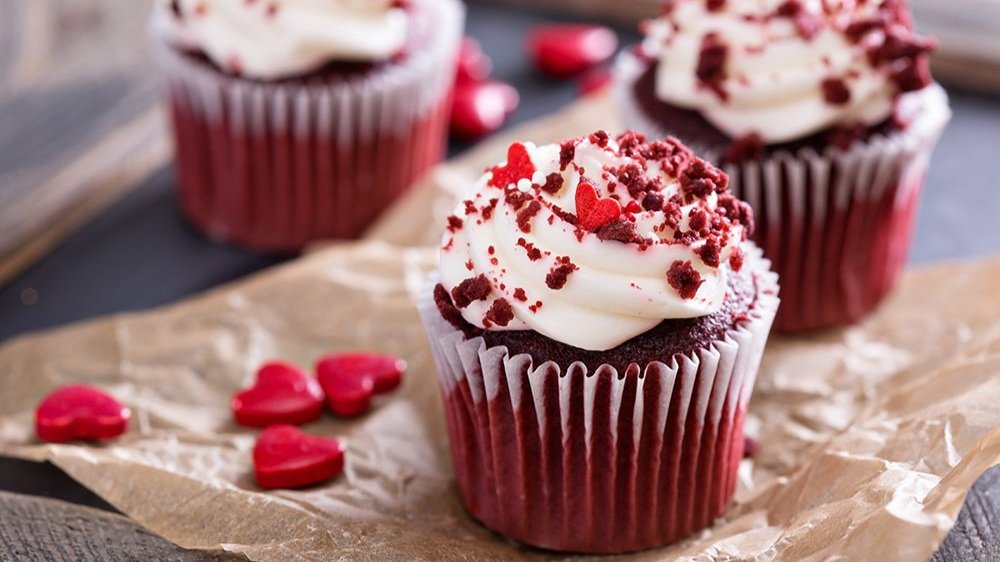
Red Velvet Cupcakes
A firm crowd favourite! While nowadays food colouring is added to enhance the colour, the original namesake came about through the reaction caused by the bicarbonate of soda and vinegar that brought out the natural reddish tones of unrefined cocoa powder.
-
225g plain flour
1 tablespoon & 1 teaspoon cocoa
¾ teaspoon sea salt
225g caster sugar
250ml vegetable oil
2 eggs
1 teaspoon red colour paste
1½ teaspoons vanilla extract
180ml buttermilk
1¼ teaspoons bicarbonate soda
1¼ teaspoons white vinegar
Tip - The buttermilk gives the cake its characteristic lightness and moisture. If you cannot find buttermilk, mix 2 and ½ teaspoons (12ml) of lemon juice with 180ml of milk and leave to stand for 5 minutes.
For the Cream Cheese Buttercream:
250g butter, softened
600g icing sugar
85g cream cheese, softened
1 tablespoon vanilla extract or the seeds from 1 vanilla pod
Serves 12
-
Step 1: Preheat the oven to 170°C, or use the baking oven of your AGA. Line a standard-sized muffin tin with paper cases and set aside.
Step 2: Mix together the plain flour, cocoa, and sea salt and set aside. Using an electric mixer, or a hand whisk, bring together the sugar and oil in a large mixing bowl. Add the eggs and beat until well incorporated. Mix in the red colour paste and vanilla extract. Add the flour mixture alternating with the buttermilk, starting and ending with the flour. In a small bowl or ramekin mix together the baking soda and vinegar and quickly add to the batter.
Step 3: Fill each paper case half to three quarters full of the mixture and bake until well risen and a skewer inserted comes out clean, 20 – 25 minutes. Transfer to a rack to cool completely before turning out the cupcakes.
Step 4: For the Cream Cheese Buttercream: Weigh all of the buttercream ingredients into a large mixing bowl, taking care to ensure that the butter and cream cheese are softened already. Beat together until smooth and light. Ice the cakes to your personal taste and serve!

